Blog
Connecting to and querying Redshift from Python
Learn how to read data from your Redshift warehouse directly into Python

There’s a lot of new kids on the analytical data warehouse block these days. But according to the strange web of maybe-made-up-market-data websites, good old Amazon Redshift is still the king (or at least somewhere in the top 5).
As you do data science or analysis, you're going to dabble into Python at some point. And if you’re at one of those 22.14% of companies that use Redshift, you’re going to need to connect to your Redshift data warehouse from Python.
In this post, we'll cover how to do exactly that! You’ll learn all the skills and steps needed to efficiently query data from Redshift right from your local Python environment or a Jupyter notebook. There’s a few different ways to do this, but we’ll cover the recommended method using the official Redshift Python connector. We’ll walk through:
1. Installing the Amazon Redshift Python Connector (redshift_connector)2. Authenticating and connecting to your Redshift data warehouse3. Running SQL queries!At this point, you’ve successfully connected to and queried Redshift from Python, and you can write any SQL query you want. Job done? Not quite. We’ll also cover:4. Reading data from a Redshift query into a pandas DataFrame
If you’re running through this live, it should only take around 5-10 minutes to go from start to successful query.
Installing the Redshift Python Connector
The packages used in this tutorial require Python 3.6+, and not much else. If you already know you have a working Python 3.6+ installation, you can skip to the Installing the redshift_connector package section.
Setting up a Python environment
There are two likely scenarios here for how you're accessing Python:
a. You’re using a Jupyter notebook or a Jupyter notebook alternative:
You should be pretty much good to go in this case. If you want to make sure, you can run this Python command in a cell and look for a response that's >= 3.6:
from platform import python_version
print(python_version())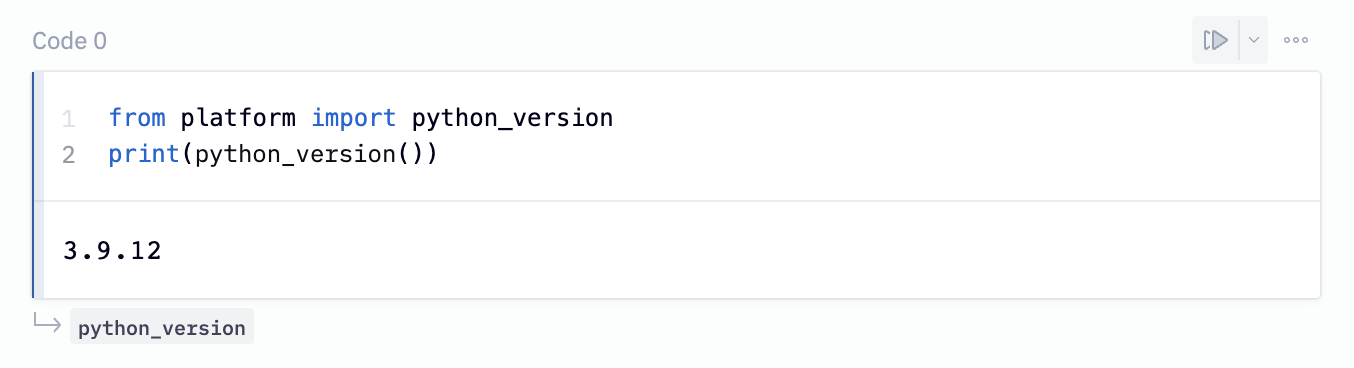
b. You’re using the terminal / command line / some other Python IDE directly:
- Open up your terminal (Terminal app on Mac, command prompt or Powershell on windows, etc.)
- Run
python --versionto check what Python version is installed. Mine prints outPython 3.9.12, but as long as yours is 3.6 or greater, you’re perfect.
If you get a command not found: python error, or your output is Python 2.x, try running python3 --version. If that works, then you have separate installations of Python 3 and Python 2, and for the rest of this tutorial you’ll need to substitue python3 for python and pip3 for pip in the example commands.
If python3 --version also does not work, then you don’t have Python installed. The easiest way to get this working is to download the official installer for your machine.
PS: We won’t go deep into the setup of virtual environments here, but if you’re doing a lot of Python work directly at the command line, you’ll want to read up on them. Virtualenv works well, and lots of people also like conda.
Installing the redshift_connector package
This is probably the easiest step of the whole tutorial! You just have to run one command to install the official Redshift Python Connector. We specify [full] here to also download a couple of other relevant packages like pandas.
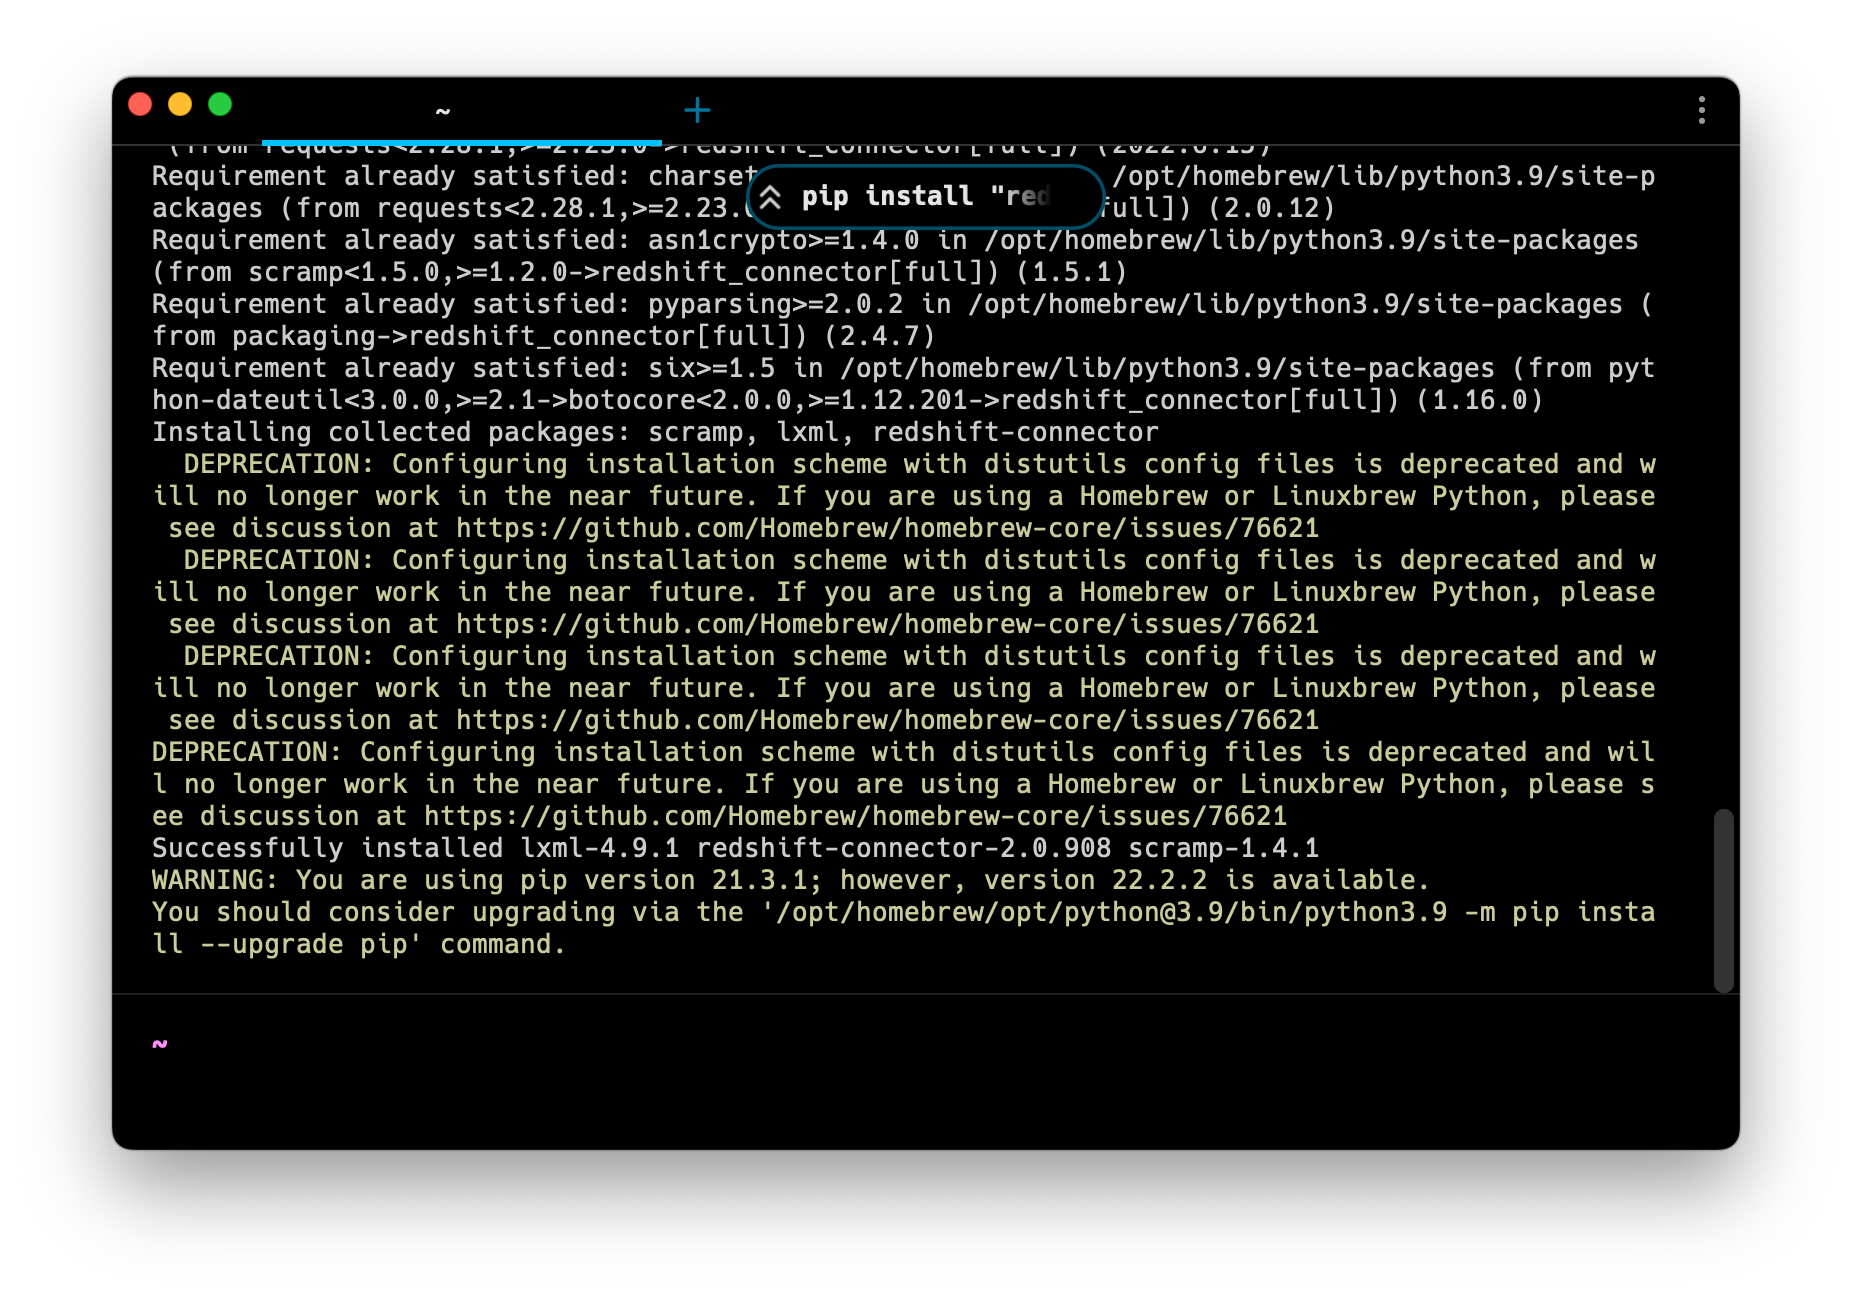
pip install "redshift_connector[full]"Remember, if you had to run python3 -- version earlier to get a working output, you need to run pip3 instead of pip to install the package. And if you’re writing this in a Jupyter notebook, add a ! before pip to let this command run as a system call.
When you run this pip install command, it'll go off and fetch all the packages and their various dependencies, which could take a minute or so. It will spin through a bunch of messages, and perhaps a few warnings about your “pip version” or various deprecated packages. This is all fine, so unless anything actually says “ERROR” in red, you can probably ignore it.
Now we’re ready to connect to the Redshift data warehouse.
Authenticating and connecting to Redshift
In this next part, we’ll be working with sensitive information: your Redshift authentication credentials. You shouldn’t ever store these directly in code. You never know what you might accidentally do with that code— send it to a coworker, copy and paste it onto Stack Overflow with a question, check it into a public git repo... It’s just better to not even give yourself the option to leak your password.
Storing Redshift credentials
So instead of directly entering your credentials, we’ll store them in environment variables. This lets us reference the values from Python without directly storing them in the Python code, instead entrusting their safekeeping to our computer’s environment.
In a terminal (not a Python session) run the following command, replacing the placeholders with your actual username and password:
export redshift_user=<your_redshift_username>
export redshift_pass=<your_redshift_password>
You won’t get any feedback or output from running this, but it will have saved these sensitive values to your current environment.
In a Jupyter notebook, you can also choose to set environment variables right from the notebook using the %env 'magic' command. Make sure to delete the cell after it's run, though, or else the credentials will still be sitting right there! Some online hosted Jupyter notebooks have their own secret variable managers, and you can use those instead.
%env redshift_user=<your_redshift_username>
%env redshift_pass=<your_redshift_password>
Opening a connection to Redshift
Now let’s get down to the actual connecting and querying in Python. Open a new Python session (either in the terminal by running python or python3, or by opening your choice of Jupyter notebook tool).
First we’ll import some packages that we will need to work with.
pandas is the most commonly used data analysis toolkit for Python. Once you’ve queried data out of Redshift, you’re probably going to be working with it in pandas. This was automatically installed earlier because we specified redshift_connector[full] instead of just redshift_connector.os is a library that will help us access environment variables — where we stored those credentials earlier.redshift_connector is the official Redshift connector package we just installed.
import pandas as pd
import os
import redshift_connector
Next, we’ll open a connection to Redshift. You’ll need a few other pieces of information about your Redshift instance for this — they aren’t sensitive, so don’t need to be stored as an environment variables.
conn = redshift_connector.connect(
    host='<examplecluster.abc123xyz789.us-west-1.redshift.amazonaws.com>',
    database='<your-database-name-here'>,
    user=os.environ['redshift_user'],
    password=os.environ['redshift_password']
 )
cursor = conn.cursor()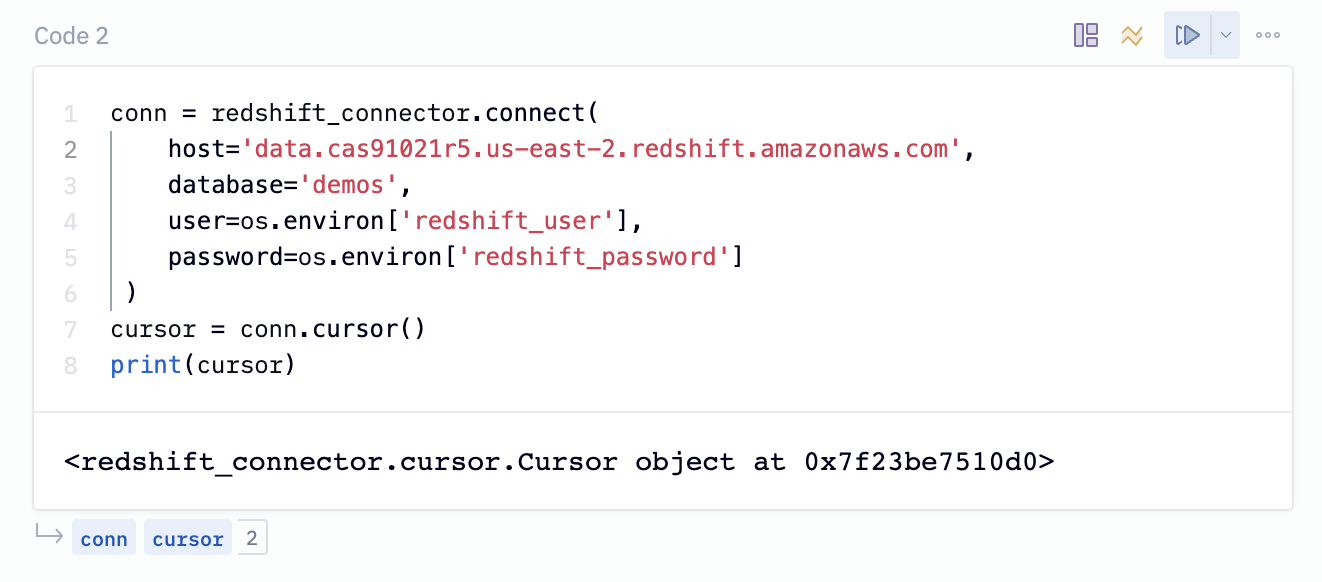
💡 Not sure where to find this information?
Your “host” is just the URL of your Redshift instance, accessible from the AWS Redshift console page. There are a ton of other options you can pass to this connect() method, so if you use some exotic configuration for your IAM or Redshift config, check out that page.
These commands create a new connection and open a “cursor” to your Redshift data warehouse. A cursor is the standard terminology for an object used to actually access records in a database. Kind of like how you can ‘point’ at things on the screen with your mouse cursor, this virtual cursor acts as a pointer to rows in your database and lets you point at and select them.
Also, notice how we’re using the os.environ['redshift_password'] syntax to reference the environment variable containing our password. This means if a bad actor gets their hands on this code, they still won’t have anything sensitive.
Running a query
Now let’s actually start getting some data.
First, we’ll run a simple query just to test that our connection worked properly.
sql = 'SELECT 1'
cursor.execute(sql)
result = cursor.fetchall()
print(result)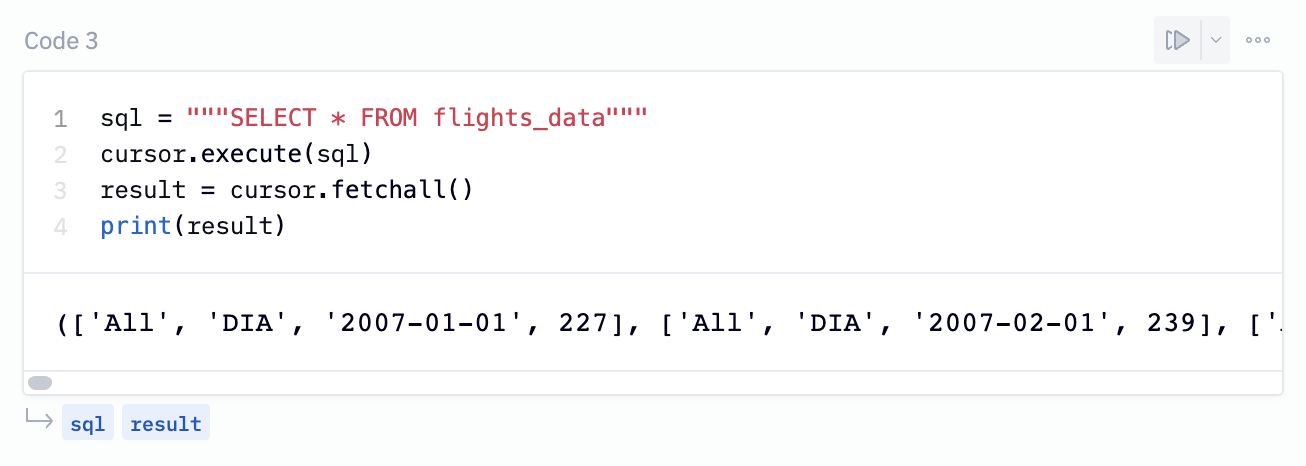
If that returned 1, then congratulations— you’ve just run a real SQL query against your Redshift data warehouse! You can replace 'SELECT 1' line with any SQL query you want to run, and the cursor object will contain the results.
Common Errors:
This process can be a little bit finicky, but most errors fall into one of two buckets:
current transaction is aborted, commands ignored until end of transaction block. This means your cursor has crashed, and needs to be recreated. You probably wrote a query with a syntax error, and running it broke your cursor state. Re-run thecursor = conn.cursor()command to get a new, fresh cursor and then re-runcursor.execute().- Some form of
Failed to establish a connection to <host>,Connection refused, orCould not connect to server: Connection timed out. This most likely means your AWS security groups are blocking access to the redshift instance. By default, a new redshift cluster is actually configured to not let anyone access it!** So you might have to set up the security groups to let you in.
So now you've run a query— excellent! But this unstructured fetching and printing of results isn't the best way to work with real data; you don’t just want to look at the results printed out, you want to actually do things with them! You could manually replace that print() line with some code that dumps rows into some data structure you can use… or you could use the fetch_dataframe() method to do that automatically!
For more information about the connector, read the official Redshift docs. They’re very thorough, but can be a bit hard to understand.
Reading data into a pandas DataFrame
Since most data analytics and data science projects use pandas to crunch data, what we really want is to transform the results of a Redshift query into a pandas DataFrame.
Let’s run a more realistic query than SELECT 1 to demonstrate this. I’ve got a sample dataset about US airplane flights, in a table called flights_data.
sql = 'SELECT * FROM flights_data'
cursor.execute(sql)
df = cursor.fetch_dataframe()
This fetch_dataframe() method will assign the results of the query to a pandas DataFrame called df. You can print a sample of the results with df.head() to make sure it worked. Here's it all together:
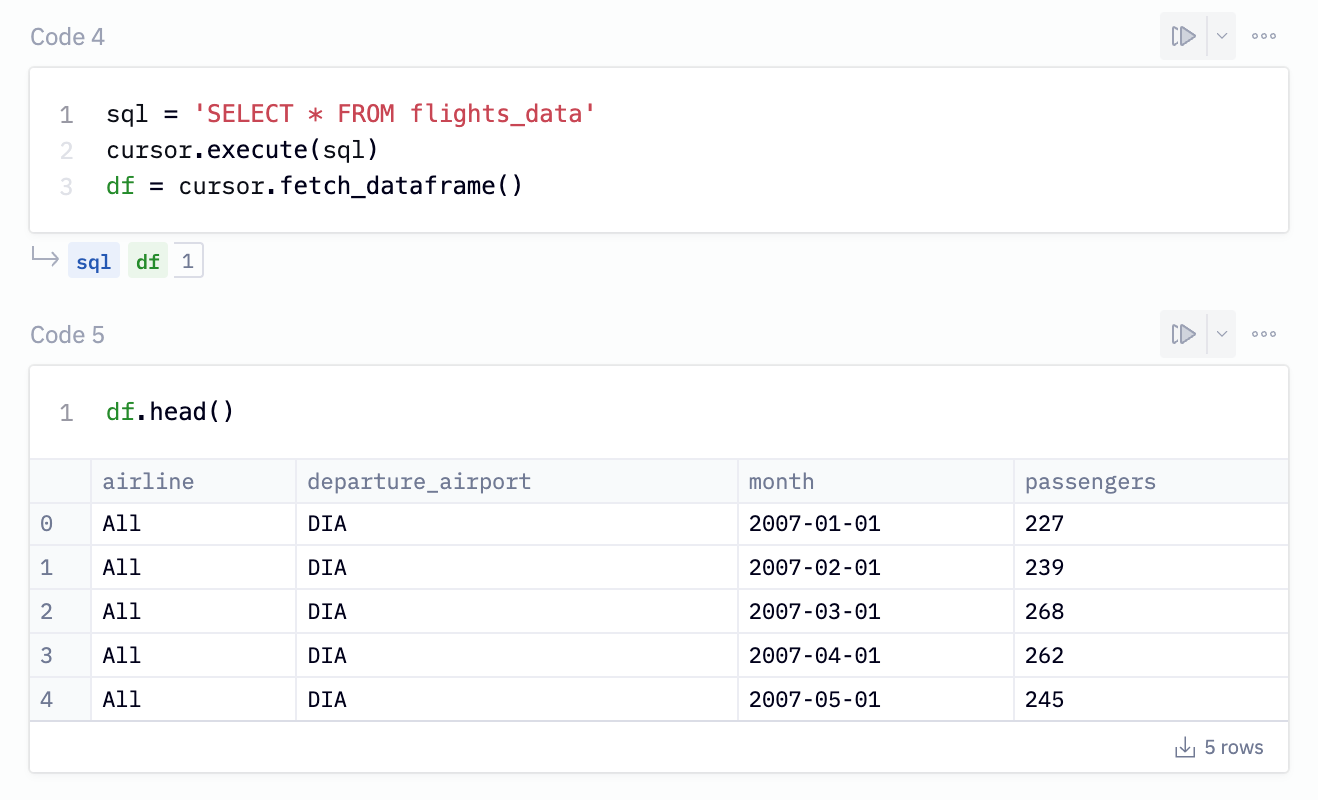
Looks great! You can use this method to execute any Redshift query from a Python environment and read the results directly into a pandas DataFrame. Now you can use any pandas functions or libraries from the greater Python ecosystem on your data, jumping into a complex statistical analysis, machine learning, geospatial analysis, or duplicating / writing back data to S3 or elsewhere.
Other methods
Python has a rich ecosystem of user-created packages, and there’s almost always more than one way to do something. There’s actually quite a few other ways to connect to Redshift, but here are the most relevant:
- psycopg2: This is a PostgreSQL database adapter for Python, and since Redshift is a modified version of PostgreSQL, it works just fine on Redshift too. It’s a similar setup, but there are less “batteries included” and you have to do a bit more by hand.
import psycopg2
conn=psycopg2.connect("dbname=<your-database-name-here> host=<examplecluster.abc123xyz789.us-west-1.redshift.amazonaws.com> port=5439 user=<your_username> password=<your_password")- Once you’ve created a connection, you can use the same cursor commands from the primary tutorial to query data. You won’t be able to use the special pandas methods, though.
- SQLAlchemy: This is a generic and powerful database toolkit for connecting to any database from Python. It doesn’t have full support for Redshift out of the box, so you have to install a specific sqlalchemy-redshift package to support it.
- This package actually requires you to also have either the main redshift_connector or psycopg2 package installed, so unless you have something very custom to do (SQLAlchemy is very flexible), I’d steer clear— It’s just unnecessary.
- pandas.read_sql: This isn’t a replacement for the entire process, since you still have to create a Redshift connection, but instead of running your SQL with a cursor and then using
fetch_dataframe, you could do it all from pandas directly: df = pd.read_sql('SELECT * FROM "ANALYTICS"."PROD"."DIM_CUSTOMERS"', conn)- And of course, if you use Hex (hint: you’re on our website right now!) you don’t have to deal with any of these contexts and cursors. You can just write pure SQL in a SQL cell and get the results as a DataFrame.